
UV Resin — Everything You Need to Know
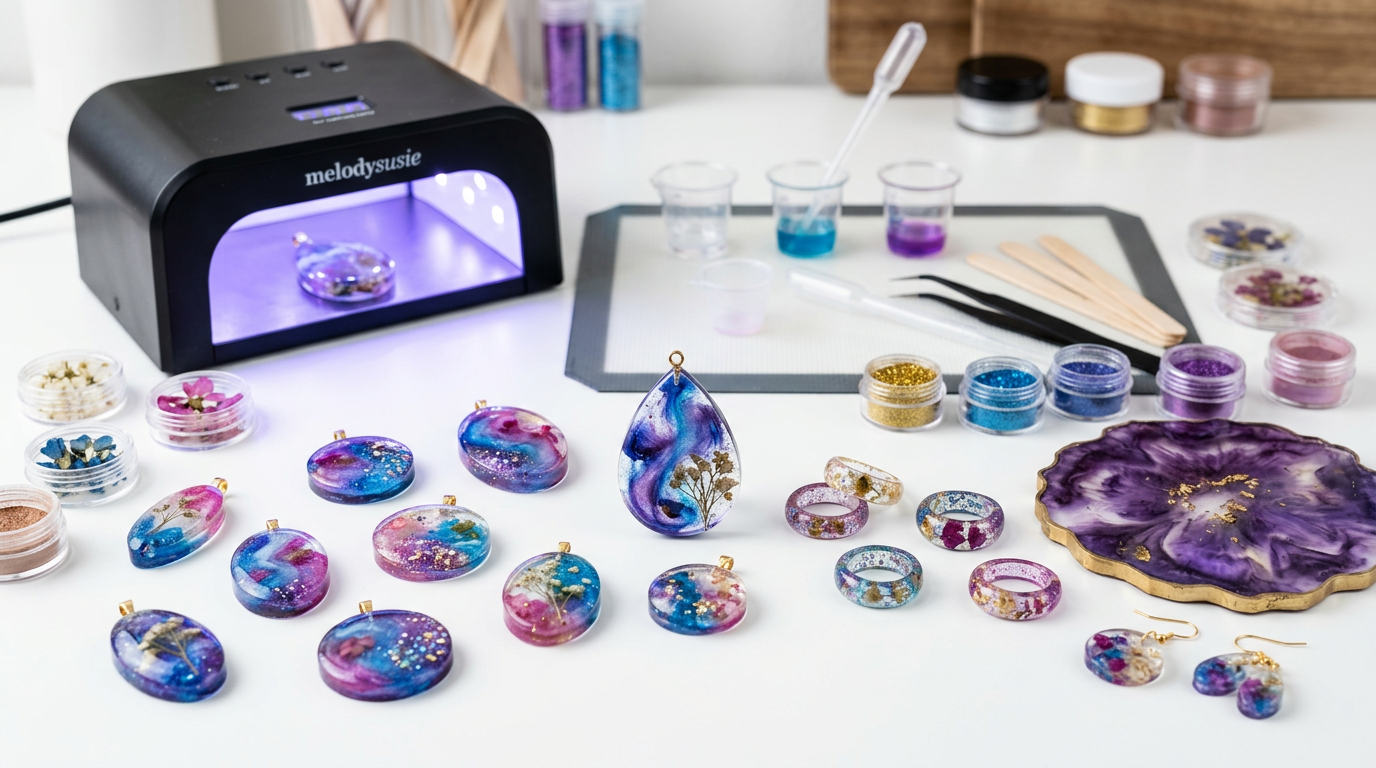
What is UV resin?
UV resin (ultraviolet light-cured resin) is a crystal-clear plastic material that cures in just a few minutes when exposed to ultraviolet (UV) light. Unlike traditional two-part epoxy resin, which requires mixing and hours to cure, UV resin is a single-component material that's ready to use straight from the bottle. You pour, create, and cure — and within minutes you have a fully hardened, glossy finished piece.
UV resin has become enormously popular in crafting and jewellery making thanks to its ease of use, speed, and beautiful finish. It's particularly well suited to small and medium-sized projects such as pendants, earrings, rings, cabochons, and more.
Key benefits of UV resin
- Cures in 2–4 minutes — No waiting 24 hours like with epoxy resin
- No mixing required — Single component, ready to use
- Crystal clear — Yellows less quickly than some epoxy resins
- Minimal odour — Milder than many other resin products
- Easy to use — Perfect for beginners wanting to try resin projects
- Minimal mess — No mixing cups or ratio measurements needed
UV resin vs. epoxy resin — when to use which?
Both UV resin and epoxy resin have their place in crafting. Here's a quick comparison:
| Property | UV Resin | Epoxy Resin |
|---|---|---|
| Cure time | 2–4 minutes | 12–48 hours |
| Mixing | Not required | Two parts in a specific ratio |
| Maximum layer depth | 1–3 mm | Varies by type, often 10+ mm |
| Best for | Small projects, jewellery | Larger castings, tabletops |
| Skill level | Beginner-friendly | Requires more technique |
If you're just starting out with resin projects, UV resin is a great way to get familiar with the material without worrying about ratios and long cure times. When you're ready to tackle larger projects such as castings or tabletop work, Resin 1:1 set or Resin 2:1 crystal clear will be a better fit.
What do you need to get started with UV resin?
Here's a list of the essential supplies you'll need:
1. UV Resin
First and foremost, you'll need a good UV resin. We recommend UV Resin 200 gr. — it's crystal clear, easy to work with, and cures in just 2–4 minutes under a UV lamp. Price: 3,490 kr.
2. UV Lamp
To cure your UV resin, you'll need a UV lamp. The UV Light 36W Double-Sided is powerful and cures resin evenly from both sides. Price: 5,900 kr.
3. Moulds
Silicone moulds are essential for creating jewellery and decorations from resin. Check out Jewellery Making Moulds (1,990 kr.) or Silicone Mould 29x26 cm (1,990 kr.), both specially designed for resin projects.
4. Pigments and embellishments
To add colour and character to your projects, you can mix in:
- Liquid Pigment — Liquid colourant that blends easily into resin (795 kr.)
- Eye Candy Pigment Powder — Stunning metallic effects (2,490 kr.)
- Dried flowers, glitter, mosaic pieces, and other decorative elements
5. Tools
- Silicone Measuring Cup 250 ml — Easy to clean (790 kr.)
- Silicone Measuring Cup 100 ml — For smaller projects (350 kr.)
- Silicone Tool Kit — Tool set for mould making and resin work (1,590 kr.)
- Mixing Cups & Stir Sticks — Disposable mixing cups (995 kr.)
Step by step: How to use UV resin
Step 1: Preparation
Choose your mould and place it on a flat, clean surface. If you plan to use embellishments (flowers, glitter, images), have them ready to go. Make sure your UV lamp is plugged in and ready.
Step 2: Pour the first layer
Pour a thin layer of UV resin into the mould — around 1–2 mm. Important: UV light cannot penetrate thick layers, so always work in thin layers at a time.
Step 3: Add your embellishments
Place dried flowers, glitter, or pigment on top of the first layer. Use a toothpick or a tool from the Silicone Tool Kit to position everything precisely.
Step 4: Cure under the UV lamp
Place the mould under the UV lamp for 2–4 minutes. Check that the resin has fully hardened before continuing.
Step 5: Add more layers
Repeat steps 2–4 until the mould is full. Each new layer bonds to the previous one, forming a single unified piece.
Step 6: Finishing
Once your piece is complete, carefully remove it from the mould. If there are any uneven edges, these can be gently sanded down and then coated with a final layer of UV resin for a perfect glossy finish.
Tips and tricks
- Avoid bubbles: Pour resin slowly and use a heat gun or toothpick to remove air bubbles before curing.
- Work in a well-ventilated space — even though UV resin has less odour than epoxy, good ventilation is always recommended.
- Protect your hands: Wear disposable gloves when working with resin.
- Store resin away from light: UV resin can begin to cure if exposed to sunlight.
- Test colours in small amounts first — too much pigment can prevent proper curing.
UV resin project ideas
Here are some projects that work beautifully with UV resin:
- Pendants and earrings — with embedded flowers or glitter
- Keyrings — unique and colourful accessories
- Bookmarks — elegant and long-lasting
- Fridge magnets — beautiful decorations for the home
- Photo coating — gives photographs a