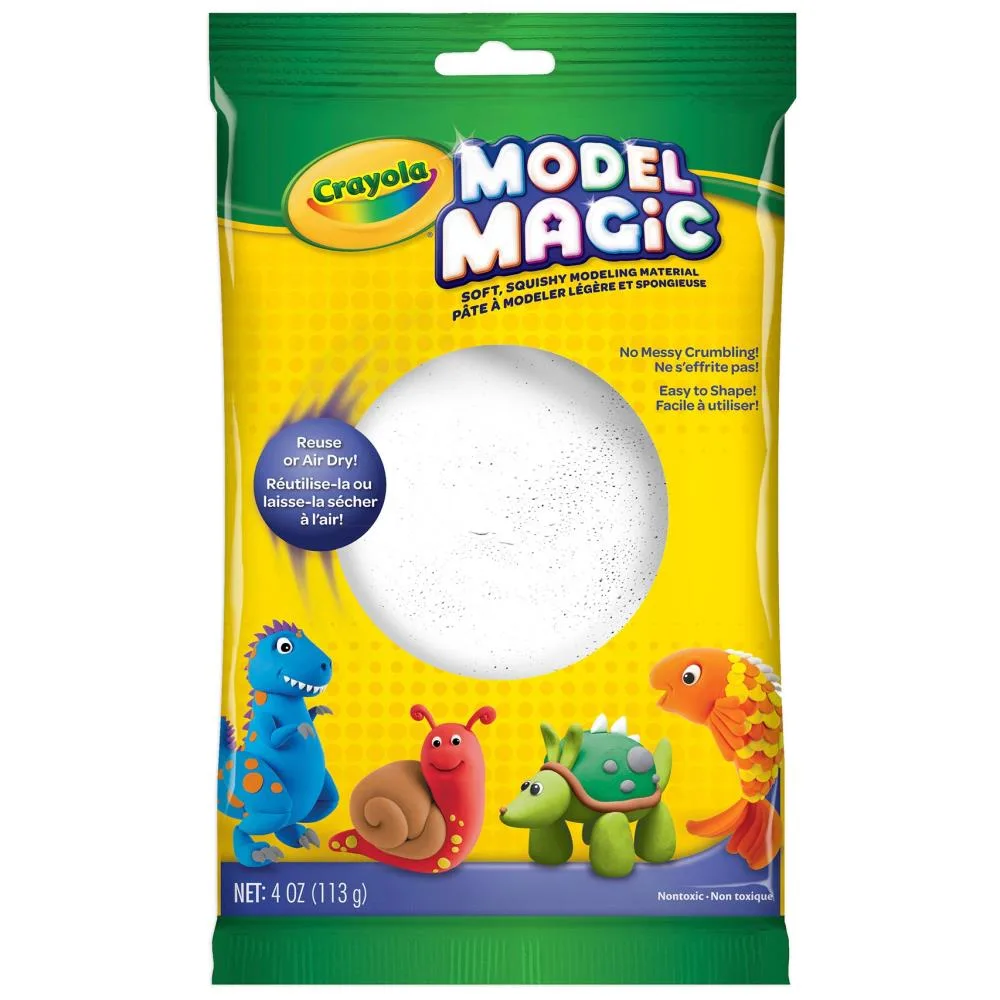
Crayola Model Magic
What can you make with it?
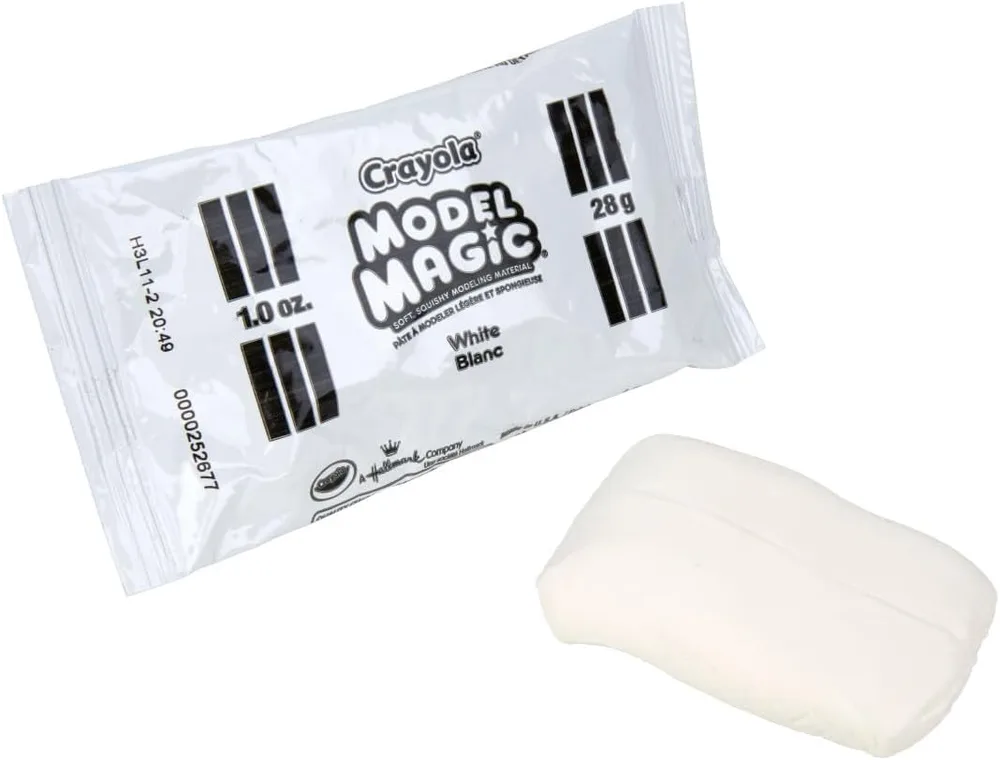
Three ideas for small projects with white Model Magic. Start with one small piece; the amount needed depends on its size and thickness. Larger projects or several figures may require more packs.
The photos are examples from Crayola and show coloured versions. This pack contains white Model Magic only. Colours, pencils, ribbon and other accessories are not included.
Small hanging ornament
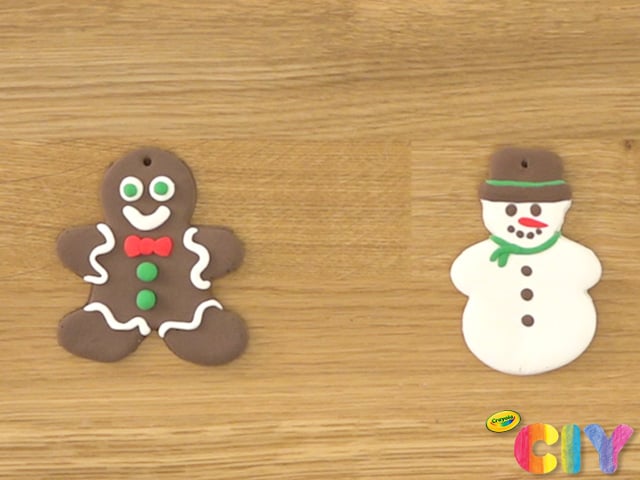
You need: White Model Magic, a small cookie cutter, a straw to make a hole and ribbon. Colours are optional.
- Flatten a small piece and cut out a snowman, heart or star.
- Make a hanging hole while soft and allow to dry completely.
- Decorate with markers or paint if desired, then thread the ribbon.
Original Crayola project (English) ↗Little dog
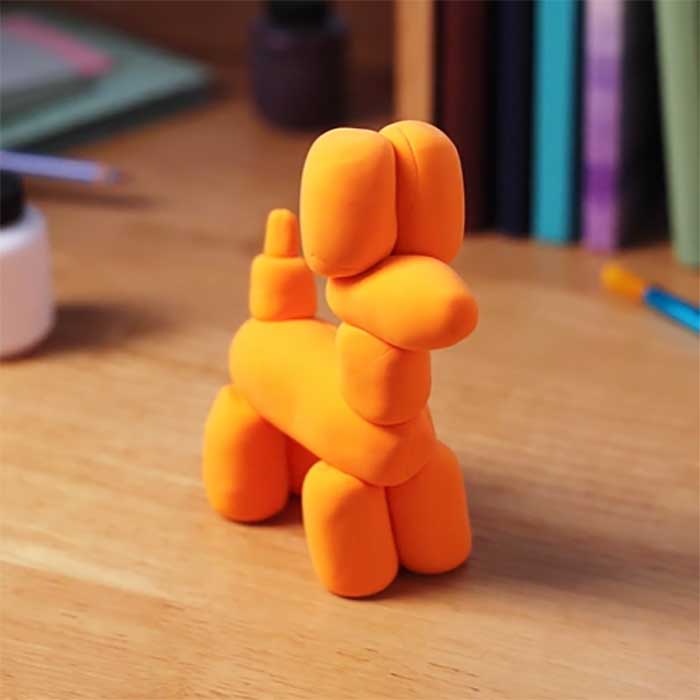
You need: White Model Magic and optional markers or paint. The dog can also stay white.
- Shape small rounded pieces for the body, legs, head, ears and tail.
- Gently press the pieces together while the material is soft.
- Allow to dry completely before painting or drawing details.
Original Crayola project (English) ↗Pencil topper
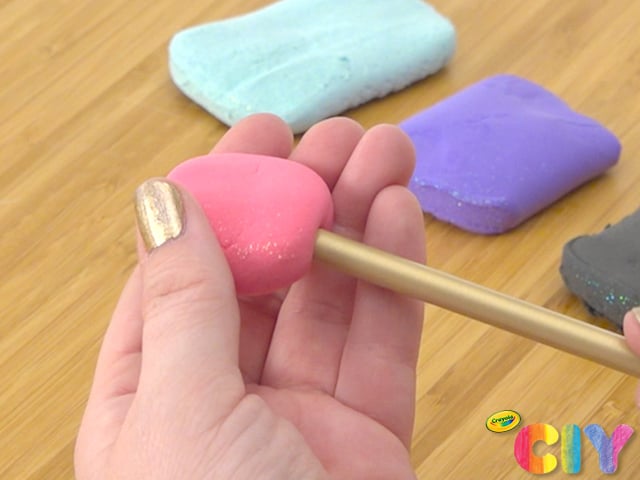
You need: A small piece of white Model Magic, a pencil and optional markers.
- Shape a small ball or a flat face.
- Press the end of the pencil into the topper and gently shape it around the pencil.
- Add small ears or a horn and allow to dry. Draw a face on the dry topper.
Original Crayola project (English) ↗Drying and care
No baking is needed. Crayola states approximately 24 hours until dry to the touch and 72 hours to dry completely. Allow the project to dry completely before painting. Finished pieces are not waterproof, even when sealed; keep them indoors and dry.
Follow the age and safety instructions on the packaging. Adults should help with tools and small parts. The material is not food.
Crayola drying and sealing guidance ↗