
Candle Making at Home: A Beginner's Guide
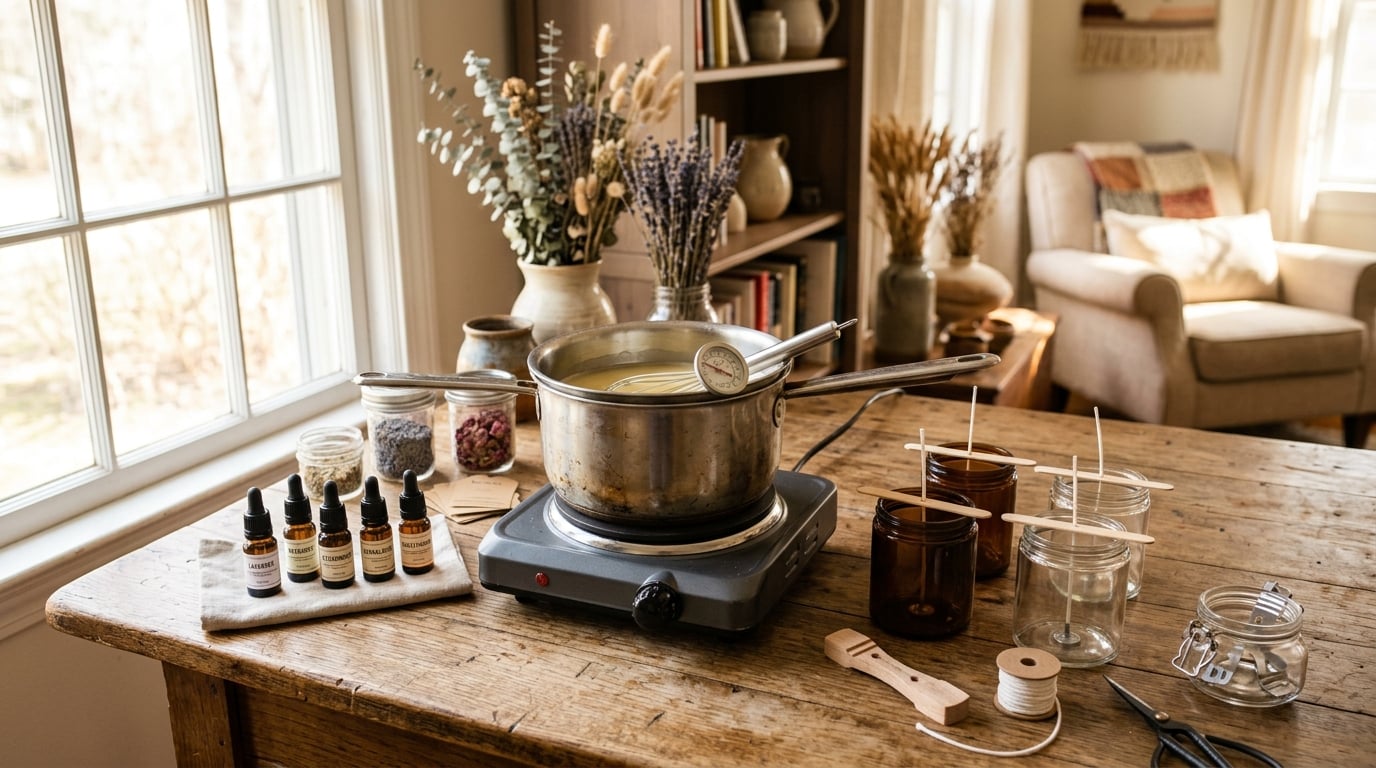
Candle making is one of the most popular crafts in Iceland — and easier than many people think. In this guide we cover everything you need to get started, step by step, with direct links to our products so you can begin right away.
What do you need to start?
🕯️ Wax
Wax is the foundation. We recommend these:
- Soy Wax Golden 454 (2 kg) — by far the most popular with beginners, melts well at low temperatures and holds fragrance beautifully. Best for container candles.
- Paraffin Wax (2 kg) — a classic choice that carries colour and fragrance strongly. Suitable for both moulds and containers.
- Beeswax (1 kg) — natural, honey-scented, burns more slowly. Beautiful on its own or blended with other wax.
- Candle Sand (1 kg) — pearl wax that's handy for smaller candles and experiments.
🧵 Candle Wicks
The candle's diameter decides the wick — too thin a wick causes tunnelling, too thick a wick causes soot. We've just restocked waxed wicks that suit both paraffin and soy wax:
- R32 — for 4–6 cm diameter (10 pcs, 890 ISK)
- R37 — for 6–8 cm diameter (10 pcs, 890 ISK)
- R42 — for 8–10 cm diameter (10 pcs, 890 ISK)
🎨 Colours
An uncoloured candle is of course beautiful too — but if you want colour:
- 20-colour set (10 ml x 20) — great to start with, lasts a long time.
- Candle dye pens (10-colour set) — easy to use, especially for beginners.
- Single colours — if you know exactly which colour you want.
🌸 Fragrances
Fragrance is what makes a candle special. Always use fragrance oils made for candles — never essential oils unless they are labelled as candle-safe.
- Vanilla Bean 100 ml — a classic vanilla fragrance from Natures Garden.
👉 See all candle fragrances · All about fragrance oils
🔧 Tools
You don't need much, but these are essential:
- Melting pot (3,950 ISK) — aluminium, with a pouring spout, made for a water bath.
- Digital thermometer (2,490 ISK) — essential for monitoring the wax temperature.
- Wick stickers (24 pcs) — hold the wick firmly to the bottom of the container.
- Bow-tie wick holders — keep the wick straight while the wax sets.
- Candle jars — ready-made containers that look great.
Step by step: Your first scented candle
1. Prepare the container
Stick a wick sticker to the bottom of the jar and attach the wick to it. Place a bow-tie holder over the container to keep the wick straight in the centre.
2. Melt the wax
Put the wax in the melting pot and place it in a larger pot half-filled with water (a water bath). Heat slowly and gently. Use a thermometer to monitor it — soy wax melts at around 76°C, paraffin at 56–60°C.
⚠️ Never put the pot directly on the stove top — always use a water bath!
3. Add colour
Once the wax is fully melted, add candle colour and stir gently until the colour is even. Start with a little — you can always add more, but it's hard to remove.
4. Add fragrance oil
Remove the wax from the heat. Once it has cooled to 60–65°C (soy wax) or 70–80°C (paraffin), add the fragrance oil. General rule: 6–10% of the wax weight (i.e. 60–100 g per kilo of wax). Stir gently for 1–2 minutes.
5. Pour into the container
Let the wax cool a little more (to around 55–60°C for soy wax) and then pour slowly into the container. Avoid pouring wax that is too hot — it can cause cracks and an uneven surface.
6. Let it cool
Let the candle cool at room temperature for 24 hours. Don't move it and don't put it in the fridge. If a dip forms on the surface — that's normal! Melt a thin layer on top to level it out.
7. Trim the wick
Trim the wick to about 5–8 mm before lighting it for the first time. This ensures an even flame and less soot.
Good to know
Which wax should I choose?
| Wax | Best for | Advantages |
|---|---|---|
| Soy wax | Container candles | Easy, clean, good scent throw |
| Paraffin | Containers and moulds | Strong colour and fragrance, versatile |
| Beeswax | Everything | Natural, honey scent, long burn |
How do I choose the right wick?
The candle's diameter decides the wick size. General rule:
Too thin a wick → tunnelling (the wax melts only around the wick). Too thick → soot and too large a flame. If in doubt, experiment — it's part of the fun!
Vybar — a little secret
Vybar is an additive that improves fragrance and colour throw in paraffin wax. Add a small amount (about 1% of the wax weight) and the fragrance becomes much stronger. Not essential, but a great tip if you want to take your candle making to the next level.
Common mistakes and how to avoid them
- Wax too hot when adding fragrance oil — the fragrance evaporates. Use a thermometer!
- The wick isn't centred — the candle burns unevenly. Use a holder.
- Pouring the wax too hot — cracks and holes on the surface. Wait until it cools.
- The wick too long — soot and a large flame. Trim to 5–8 mm before each use.
Ready to start?
Visit our candle making page for an overview of all the wax, wicks, colours, fragrances and tools you need in one place.
Not sure where to begin? Start with a soy wax, a wick that matches your jar diameter, and a fragrance you love — then build from there. And if you'd like a hand choosing, just reach out to us at Föndurlist.